Understanding the Basics of DNA Collection
So, you’re curious about genetic testing and wondering how it all works, especially when it comes to getting that all-important DNA sample? It’s a common question, and thankfully, the process is usually quite straightforward and non-invasive. Think of it like this: your body is a treasure trove of genetic information, and collecting a DNA sample is simply finding a way to access a tiny, representative piece of that treasure.
The goal of any DNA collection method is to gather enough cells that contain your unique genetic blueprint. These cells are then sent to a lab where the DNA can be extracted and analyzed. Don’t worry, it’s not like something out of a science fiction movie; most methods are quick, painless, and can even be done from the comfort of your own home.
If you’re interested in understanding the process of DNA sample collection for genetic testing, you may also want to explore a related article that provides comprehensive insights into the various methods and best practices involved. For more detailed information, check out this article on DNA testing at Check Your DNA. This resource can help clarify any questions you might have about the procedures and implications of genetic testing.
Common Methods for DNA Sample Collection

When it comes to getting your DNA, there are a few popular and reliable methods that labs use. Each has its own little quirks, but they all aim to get a good quality sample for analysis. Let’s explore the most common ways you might be asked to provide your DNA.
1. The Buccal Swab: A Gentle Cheek Rub
This is probably one of the most common and easiest ways to collect a DNA sample, especially for at-home kits. A buccal swab involves gently rubbing a sterile cotton swab (it looks a bit like a long cotton bud) against the inside of your cheek. This action collects epithelial cells, which are the cells lining the inside of your mouth. These cells contain your DNA.
The process is very simple: you’ll typically be asked to rub the swab firmly but gently against your inner cheek for about 30-60 seconds, rotating it to collect as many cells as possible. You might do this with a couple of swabs to ensure a good sample. It’s painless and can be done by almost anyone, making it a popular choice for children and adults alike. Before swabbing, it’s usually recommended to avoid eating, drinking (except water), chewing gum, or smoking for about 30 minutes to an hour to ensure the sample isn’t contaminated by food particles or other substances.
2. Saliva Sample: Just a Spit Away
Another incredibly popular and non-invasive method is collecting a saliva sample. This might sound a bit informal, but saliva actually contains cells shed from the lining of your mouth and other areas, all of which carry your DNA. For this method, you’ll typically be provided with a collection kit that includes a small tube.
You simply spit into the tube until the liquid reaches a designated fill line. Often, there’s a special solution in the tube that helps preserve the DNA once it’s collected. This method is also very easy to do at home and is preferred by many because it doesn’t involve any physical scraping like a buccal swab, however gentle that may be. Similar to buccal swabs, you might be asked to refrain from eating, drinking, or smoking for a period before providing the sample to ensure its quality.
3. Blood Sample: The Gold Standard in Some Cases
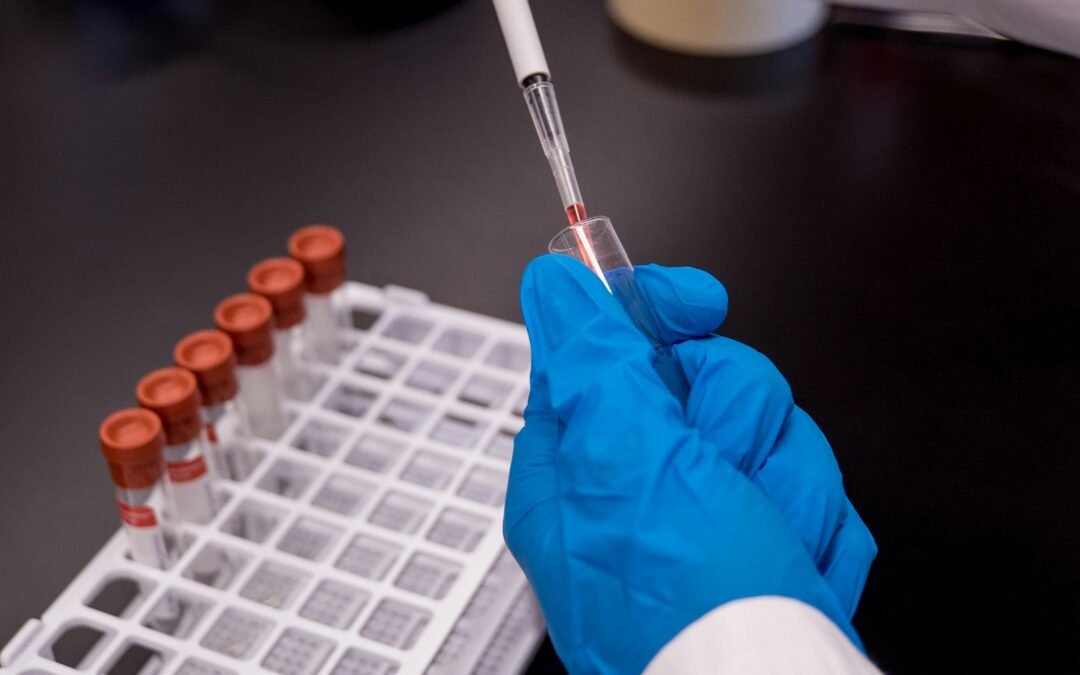
While the previous two methods are super convenient, sometimes a blood sample is preferred or necessary, especially for certain types of genetic tests. Blood contains a high concentration of white blood cells, which are packed with DNA. Red blood cells don’t have a nucleus and therefore don’t contain DNA, but the white blood cells are excellent sources.
Collecting a blood sample typically involves a venipuncture, which is when a healthcare professional (like a phlebotomist) draws blood from a vein, usually in your arm. This is a common procedure for many medical tests, so it’s very routine and safe. While it’s slightly more invasive than a swab or saliva collection, it’s generally quick, and the small prick is usually the most uncomfortable part. For some specific genetic analyses, particularly those looking at cell-free DNA (like some prenatal tests), blood is the only viable option.
4. Urine Sample: Less Common, but Possible
While less common for standard genetic testing compared to saliva or buccal swabs, urine can sometimes be used to collect DNA. Urine contains cells shed from the urinary tract, which carry genetic material. However, the concentration of viable DNA in urine can be lower and more variable compared to other sample types.
For this reason, urine samples are not typically the first choice for broad genetic testing panels. They might be used in specific research settings or for certain types of tests where other sample types are not feasible or when investigating conditions related to the urinary system. The collection simply involves providing a urine sample into a sterile container, much like a regular urine test at the doctor’s office.
5. Other Specialized Sample Types
Beyond the common methods, there are a few other specialized ways to collect DNA, often used in specific medical or forensic contexts. These are less likely to be encountered for general consumer genetic testing but are important to know about.
A. Hair Follicles: Not the Hair Shaft
It’s a common misconception that any strand of hair can be used for DNA testing. While hair is everywhere, it’s actually the follicle (the root bulb at the end of a hair strand that contains living cells) that holds your DNA, not the hair shaft itself. For DNA analysis, several hairs (usually 5-10) need to be plucked, ensuring the root is intact. This makes it a less convenient and slightly more uncomfortable method than a buccal swab or saliva, so it’s rarely used for general genetic screening.
B. Amniotic Fluid or Chorionic Villi: For Prenatal Testing
These methods are specific to prenatal genetic testing, performed during pregnancy to assess the genetic health of a fetus. Amniocentesis involves collecting a small sample of amniotic fluid (the fluid surrounding the baby), which contains fetal cells. Chorionic villus sampling (CVS) involves taking a small sample of tissue from the placenta. Both procedures are performed by medical professionals and carry a small risk, so they are typically done when there’s a specific medical indication or concern.
C. Tissue Biopsy: For Specific Diagnoses
In certain medical situations, particularly when investigating specific diseases like cancer, a tissue biopsy might be taken. This involves a surgeon or doctor removing a small piece of tissue from a specific area of the body. This tissue contains cells that can be analyzed for genetic mutations or other markers relevant to the disease. This is a medical procedure performed for diagnostic purposes, not for general curiosity about one’s genetic background.
The Journey of Your Sample: From You to the Lab

Once you’ve collected your sample, what happens next? It’s a pretty standardized process to ensure your genetic material is safely transported and processed. Think of it as a carefully choreographed journey.
1. Packaging and Shipping
After collection, your sample needs to be properly packaged. At-home kits usually come with clear instructions and specific packaging materials, like biohazard bags and sturdy boxes, to protect the sample during transit. It’s crucial to follow these instructions to prevent contamination or degradation of the DNA. Often, a pre-paid shipping label is included, making it easy to send your sample back to the designated laboratory.
In India, shipping logistics are generally well-established, and many labs offer home collection services where a phlebotomist or a collection agent comes to you, especially for blood samples or if you prefer assistance with buccal/saliva kits. For samples sent via courier, ensuring proper packaging is key to protecting the integrity of the DNA during varying climate conditions.
2. Lab Reception and Quality Control
When your sample arrives at the lab, it’s first logged into their system. Then, it undergoes a crucial quality control check. This involves verifying the sample’s integrity and ensuring it meets the lab’s standards for DNA extraction. For instance, if a saliva sample is insufficient or if a buccal swab appears contaminated, the lab might request a new sample. This step is vital to ensure that the subsequent genetic analysis is accurate and reliable.
3. DNA Extraction
This is where the magic begins! In the lab, the cells from your sample (whether from your cheek, saliva, or blood) are processed to release the DNA. This typically involves a series of chemical washes and treatments that break open the cell membranes and nuclei, separating the DNA from other cellular components like proteins and fats. The result is a purified sample of your DNA, ready for analysis. The amount of DNA extracted from a typical buccal swab or saliva sample is usually microscopic but more than enough for modern genetic testing technologies.
What Happens After Extraction? (Briefly)
Once your DNA is extracted, it’s ready for the actual genetic testing. Depending on what you’re testing for, the lab will use various techniques. This might involve sequencing specific genes, looking at broader patterns across your genome, or examining particular markers. The technology used is highly sophisticated and designed to read the unique sequence of your DNA.
The raw data is then interpreted by bioinformaticians and geneticists, who translate those sequences into meaningful information. This information is then compiled into a report that outlines the findings relevant to the genetic test you’ve undergone. Remember, this report presents genetic information; it doesn’t offer medical advice or diagnoses.
If you’re curious about the process of genetic testing and how a DNA sample is collected, you might find it helpful to read a related article that delves deeper into the topic. Understanding the methods used for sample collection can provide valuable insights into the accuracy and reliability of genetic testing. For more information, you can check out this informative piece on the subject by following this link.
Considerations for Sample Collection in India
| Step | Description | Common Methods | Time Required | Sample Type |
|---|---|---|---|---|
| 1. Preparation | Ensure the individual has not eaten, drunk, or smoked for 30 minutes prior to collection to avoid contamination. | Rinse mouth with water | 5 minutes | Oral cells |
| 2. Collection | Collect cells containing DNA using a swab or saliva collection kit. | Buccal swab, saliva collection tube | 1-5 minutes | Cheek cells, saliva |
| 3. Labeling | Label the sample container with patient information to ensure proper identification. | Barcode or handwritten label | 1 minute | Sample container |
| 4. Storage | Store the sample properly to maintain DNA integrity until testing. | Room temperature or refrigerated, depending on kit instructions | Varies | Collected sample |
| 5. Shipping | Send the sample to the laboratory for DNA extraction and analysis. | Secure packaging, courier service | 1-3 days | Sample container |
In India, the accessibility and methods for DNA sample collection largely mirror global practices, but with some local nuances.
1. Cost and Accessibility
The cost of genetic testing and sample collection can vary significantly in India, depending on the type of test and the laboratory. While some basic tests might be relatively affordable, comprehensive genome sequencing can be a significant investment. Many diagnostic labs now offer genetic testing services, and home collection facilities for blood and saliva samples are increasingly common, especially in urban areas. This improves accessibility for individuals who may have difficulty traveling to a collection center.
2. Consanguineous Marriages
In some communities in India, consanguineous marriages (marriages between close relatives) are practiced. This practice can increase the likelihood of inheriting certain recessive genetic disorders, as shared ancestry can mean both parents carry a copy of the same recessive gene mutation. For couples considering starting a family, especially if there’s a history of consanguinity or genetic conditions in the family, genetic counseling and carrier screening might be recommended. In such cases, sample collection (usually blood or saliva from both partners) is the first step in assessing potential genetic risks for offspring.
3. Importance of Professional Guidance
While direct-to-consumer genetic testing is available, for any health-related concerns or family planning, it’s highly recommended to consult with a doctor or a genetic counselor in India. They can guide you on the most appropriate type of test, explain the implications of different collection methods, and help you understand the results in the context of your personal and family health history. They can also recommend reputable labs and ensure ethical practices are followed throughout the process.
This article is for general educational purposes and is not a substitute for professional medical or genetic counselling advice.
FAQs
1. How is a DNA sample collected for genetic testing?
A DNA sample for genetic testing is typically collected through a simple and painless procedure, such as a cheek swab or a blood draw. The collected sample is then sent to a laboratory for analysis.
2. Can DNA samples be collected at home for genetic testing?
Yes, some genetic testing kits allow individuals to collect their DNA samples at home using a cheek swab or saliva sample. These samples can then be mailed back to the testing company for analysis.
3. Are there any special precautions to take when collecting a DNA sample for genetic testing?
When collecting a DNA sample for genetic testing, it is important to follow the instructions provided by the testing company carefully to ensure the sample is not contaminated. Avoid eating, drinking, or smoking for at least 30 minutes before collecting the sample.
4. How long does it take to collect a DNA sample for genetic testing?
The process of collecting a DNA sample for genetic testing usually takes just a few minutes. However, the overall time may vary depending on the type of sample being collected and the specific testing requirements.
5. Can a DNA sample be collected from other sources besides cheek swabs and blood draws?
Yes, in addition to cheek swabs and blood draws, DNA samples can also be collected from other sources such as hair follicles, skin cells, and saliva. The method of collection may vary depending on the specific requirements of the genetic test.